

Why Did My Dry Bag Buckle Break?
A broken buckle usually does not mean the whole dry bag is finished. Age, sunlight, cold, impact and repeated tension can all weaken plastic hardware, and many buckle failures can be repaired without replacing the bag.
Plastic dry-bag buckles can crack after years of UV exposure, repeated flexing, impact or use in very cold conditions. Before buying a replacement, measure the webbing width and check whether the broken male or female half can be replaced independently. Snap-bar and screw-in field-repair buckles can often be installed on existing webbing without removing the sewn strap.
A buckle is one of the most replaceable parts of a dry bag.
A cracked side-release buckle looks dramatic because the roll-top may no longer stay secured. But the welded bag body, seams and webbing may still be perfectly usable.
That means the repair often comes down to identifying the failed side, matching the webbing width and choosing replacement hardware that works with the existing strap.
The mistake is assuming every broken clip is automatically a bag failure or automatically a manufacturing defect. Hardware is exposed to sunlight, temperature swings, flexing, sand, impact and constant tension over the life of the product.
The buckle may be broken. The strap may still be fine.
Most roll-top dry bags use side-release hardware connected to sewn webbing. A failure in one plastic half does not necessarily require removing the webbing or opening the original stitching.
Field-repair buckles exist specifically so replacement hardware can be added around an existing loop of webbing.
Before ordering anything, inspect the strap itself. If the webbing is torn or its stitching has failed, the repair is different from simply replacing the plastic hardware.
Buckles age in more than one way.
Side-release buckles are commonly made from engineering plastics such as acetal/POM, nylon or polypropylene. Their behavior depends on the exact material, design and environment, but several stressors can contribute to cracking or loss of flexibility over time.
UV exposure can degrade many plastics over time, especially when gear spends long periods outside, on a deck or in direct sun.
Some plastics become stiffer and less impact-tolerant as temperature drops, making aged hardware easier to crack under load.
Every closure cycle bends the locking arms. After enough use, already-aged hardware may tolerate less deformation than it once did.
Stepping on a buckle, pinching it against a boat or forcing a stiff closure can create the final crack.
A buckle that suddenly feels wrong is giving you information.
If the locking arms feel unusually rigid, misaligned or reluctant to click, stop forcing them. Check for sand, debris, deformation or an existing crack first.
In very cold conditions, warming the hardware with your hands or inside a pocket before trying again can be gentler than using pliers or applying dramatically more force.
Replace the hardware without rebuilding the strap.
Snap-Bar Repair Buckle
This style uses an opening bar that allows the replacement buckle to be attached around an existing sewn webbing loop.
- No sewing machine required
- Designed for existing sewn straps
- Quick to install in the field
- Available in multiple webbing widths
Screw-In Field Repair Buckle
This style uses a removable pin or screw rather than a permanently molded bar, allowing the hardware to be fitted onto existing webbing.
- No restitching of the webbing loop
- Uses a screw or removable bar
- Useful for permanent or semi-permanent field repair
- Requires the correct size and geometry
“Replacement buckle” does not automatically mean “fits every buckle.”
Field-repair hardware is widely available, but compatibility still matters. Measure and inspect before buying.
Measure the strap where it passes through the buckle. Common sizes exist, but do not estimate from a photo.
Male and female buckle halves are not automatically interchangeable between brands or hardware families.
Confirm whether you need a snap-bar, screw-in bar, ladder-lock interface or a complete matched buckle pair.
Diagnose first. Replace second.
If the strap itself is torn or the sewn loop is failing, simply replacing the plastic buckle does not solve the whole problem.
Take away loose plastic pieces without cutting healthy webbing or damaging the sewn loop.
Match the replacement buckle to the actual webbing width and the connection style required.
Snap the repair bar into place or install the screw/pin according to the hardware manufacturer's instructions.
Clip and release the replacement several times, then place normal tension on the strap before taking the bag back onto the water.
You cannot make a buckle immortal, but storage matters.
Avoid unnecessary UV exposure between trips, especially long-term storage on roof racks, decks or sunny windows.
Keeping outdoor gear in extremely hot enclosed vehicles for long periods can accelerate aging of multiple materials.
Sand and debris can interfere with smooth engagement and encourage users to force the buckle harder than necessary. For a safe cleaning routine around closures and hardware, see how to clean and maintain a waterproof bag.
Look for discoloration, chalkiness, cracks, deformation or locking arms that no longer flex normally.
Buckle repair belongs in a small field kit.
REI includes repair-oriented supplies in its backpacking repair-kit guidance, and buckle manufacturers such as GEAR AID sell replacement hardware specifically for this kind of field failure.
Dry bag hardware repair kit
Common repair questions.
Can I fix a dry bag buckle without sewing?
Often, yes. Snap-bar and screw-in field-repair buckles are designed to attach to existing sewn webbing loops. Whether that works depends on the strap configuration and replacement hardware you choose.
Are replacement buckles universal?
Not completely. Webbing width, male/female geometry, side-release design and bar configuration can differ. A complete matched replacement pair may be easier when one half does not mate with the original hardware.
Does a broken buckle mean my dry bag is no longer waterproof?
Not necessarily, but on a roll-top design the buckle helps maintain the rolled closure. Until that closure can be secured correctly, you should not assume the bag will perform as intended. If the fabric or seams also show wear, use our dry bag repair-or-replace checklist before relying on it again.
How can I stop buckles from breaking?
You cannot eliminate aging, but storing gear away from prolonged UV and extreme heat, keeping grit out of the mechanism and replacing visibly deteriorated hardware before a trip can reduce avoidable failures.
Should I carry a spare buckle?
For trips where one broken roll-top buckle would create a serious storage problem, carrying a correctly sized field-repair buckle is a small and practical addition to the repair kit.
Fix and prevent dry-bag problems


Your phone and wallet may not need a roll-top bag at all.
Large roll-top dry bags make sense when you need substantial gear capacity. But if the load is only a phone, wallet, keys and ID, a smaller waterproof bag can solve that job without relying on a roll-top buckle to keep the main closure secured.
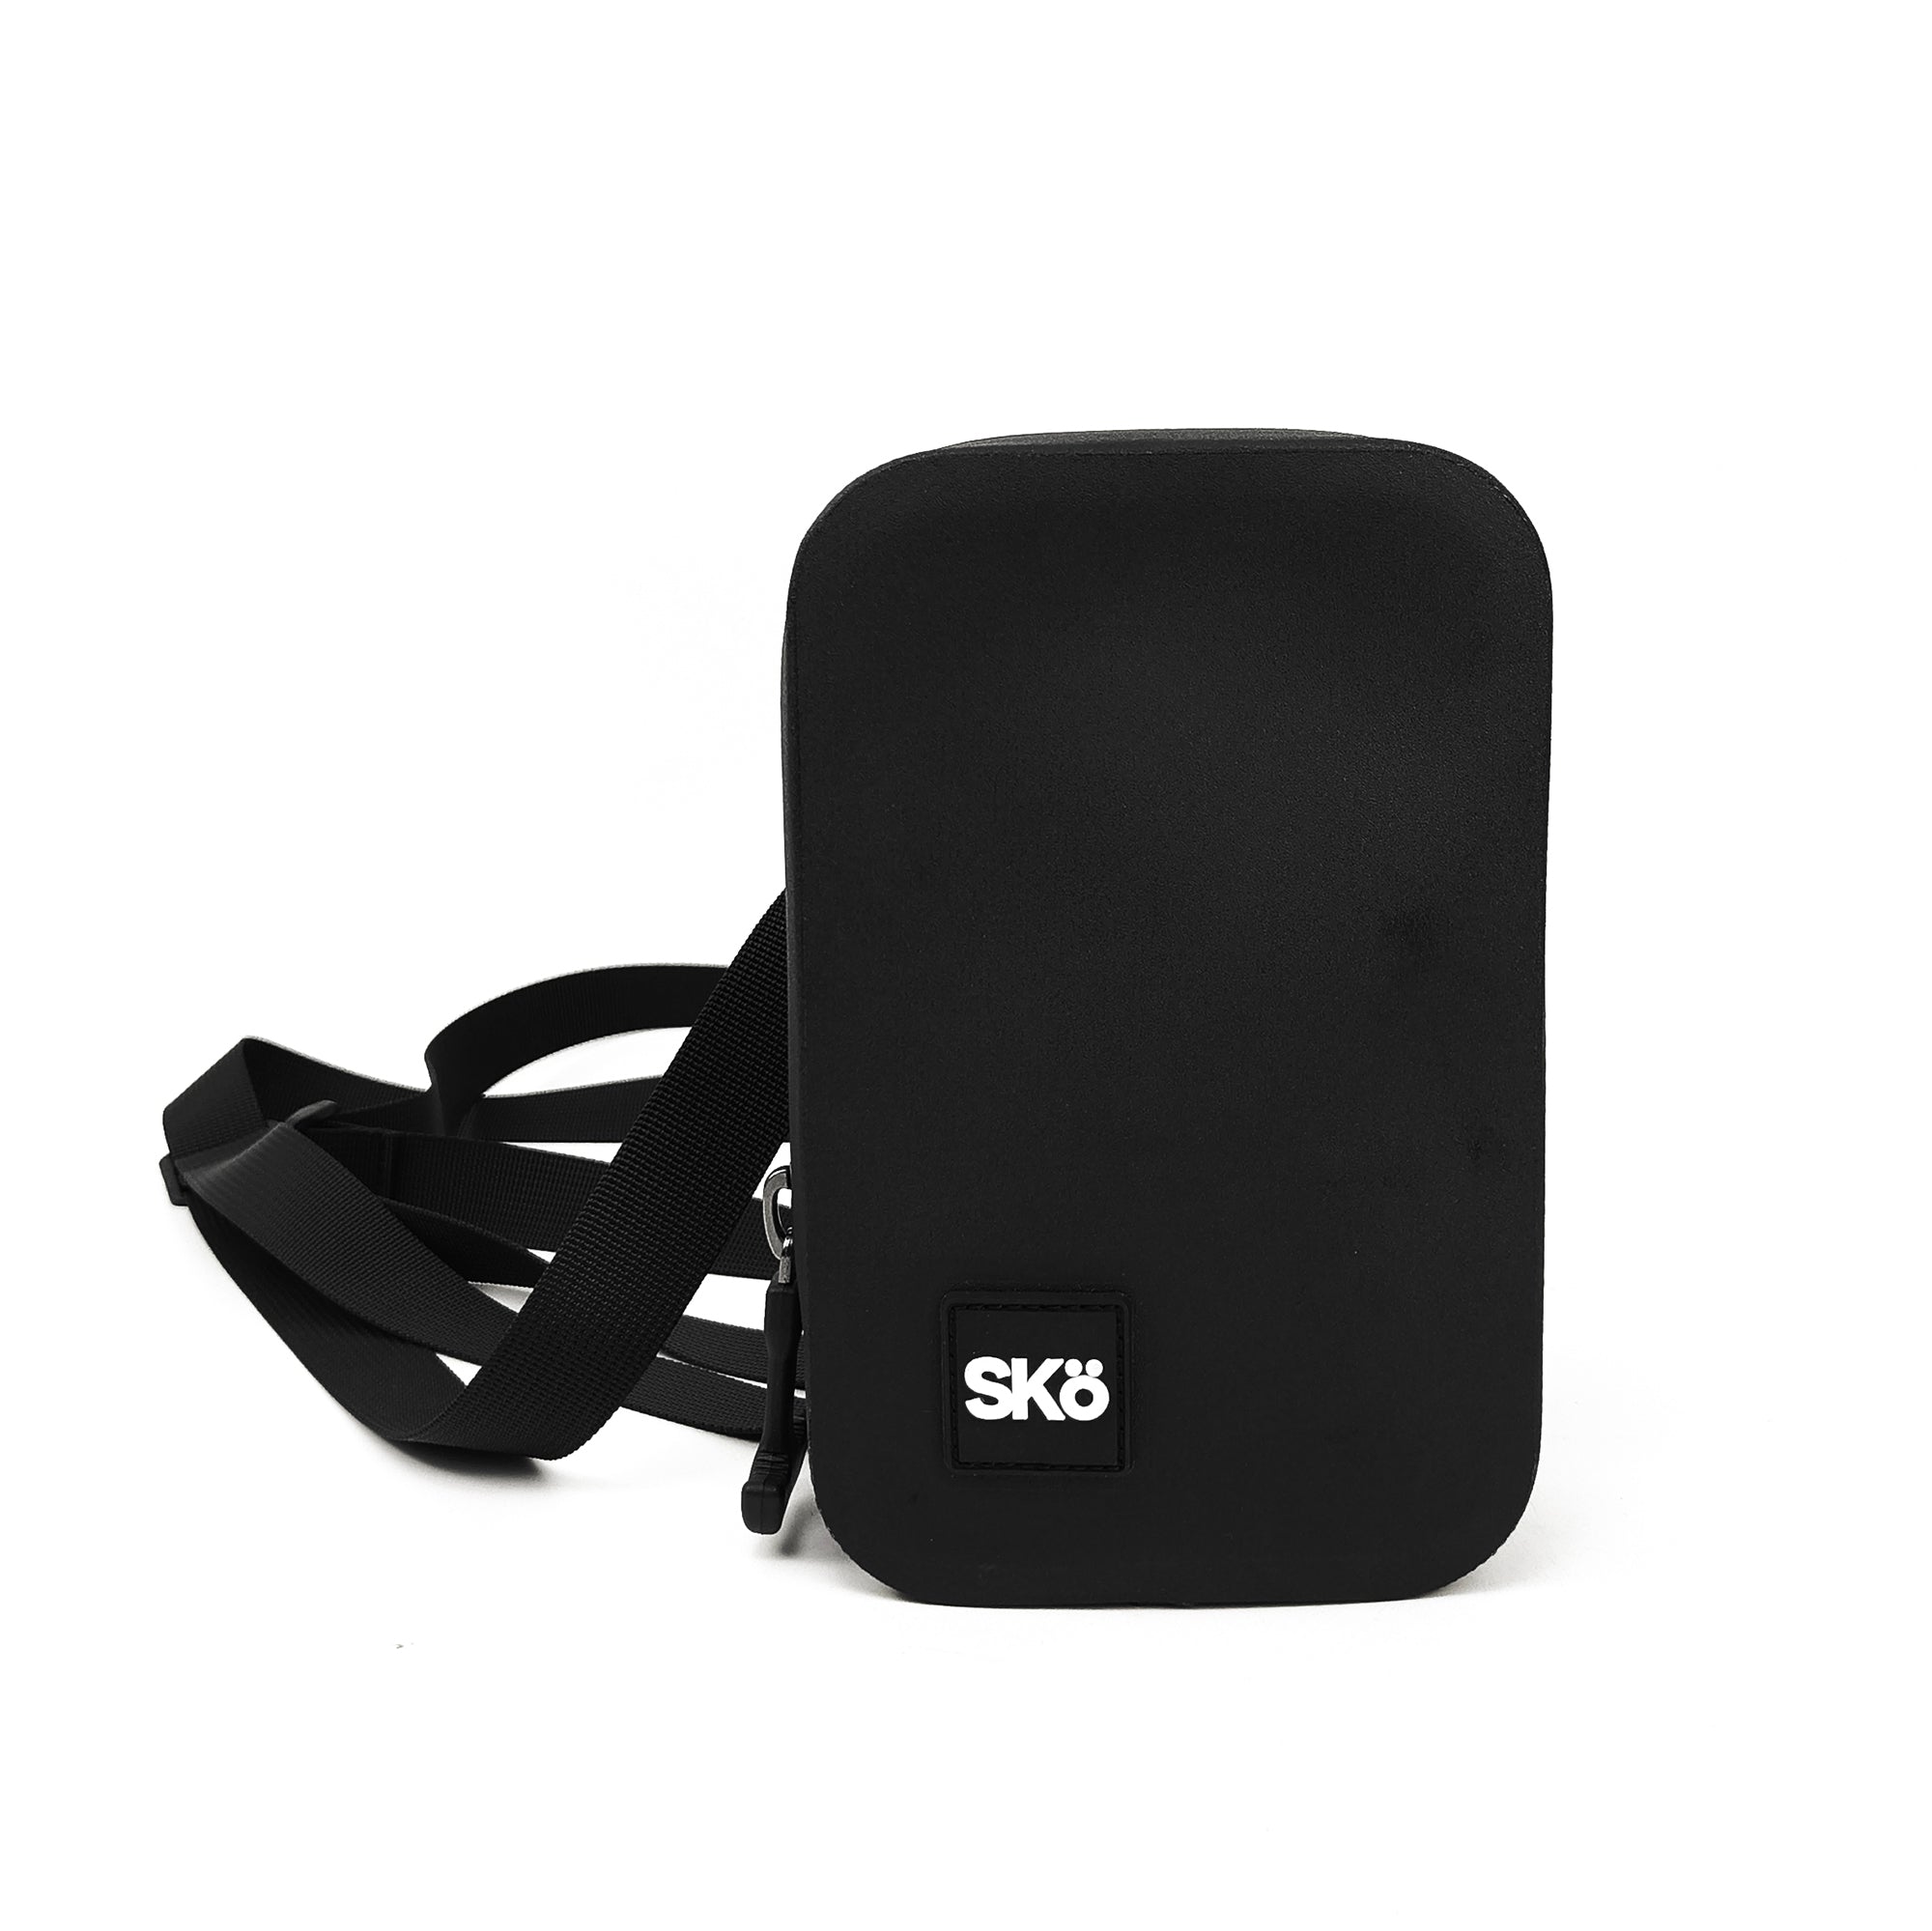
The SKÖ Waterproof Crossbody uses a waterproof zipper and is designed around compact valuables rather than bulk gear.
The SKÖ Waterproof Crossbody serves a different carrying job than a large roll-top dry bag.
Explore more SKÖ guides
Inspect, seal and maintain dry bags so small hardware problems do not spoil a trip.
 How to Test a Dry Bag for Leaks Before Your Trip
 Are Dry Bags Actually Waterproof?