

Why Is Water Getting Into My Kayak Hatch? Find the Leak
Do not guess which part is leaking. A reverse leak test can show whether the water is escaping at the hatch cover, a deck fitting, the bulkhead or the hull itself.
Clean the hatch rim and cover first. Then put a small amount of water inside the suspect compartment, close the hatch and slowly roll the kayak on soft ground. Where the water drips out identifies the likely leak path. Repair that specific point and keep critical gear in dry bags inside the hatch anyway.
A “dry” compartment is only as dry as its weakest joint.
Riot Kayaks lists several common leak paths: the hatch-cover seal, deck fittings and the bulkhead. P&H Sea Kayaks adds hull damage and periodic bulkhead-seal inspection to the maintenance picture.
Each cause wants a different fix. Replacing a hatch cover will not solve a loose bulkhead.
The hatch is part storage, part flotation system.
The U.S. Coast Guard Auxiliary’s paddler guide notes the flotation role of bulkheads and includes secure hatch covers in pre-launch checks.
The same guide warns that dewatering a swamped sit-inside can be difficult, especially during self-rescue.
Even a well-maintained hatch can take on some moisture from opening, spray or a capsize. Critical gear should not rely on the compartment alone. For a different storage format when you carry gear between the vehicle and the boat, see kayaking waterproof backpacks versus hatch storage; neither replaces repairing the actual leak.
Make the water show you the exit path.
Clean and dry the outside first.
Rinse the hatch rim and the inside edge of the cover, then dry the outside of the kayak so new drips are easy to see.
Add a few inches of water to the suspect compartment.
Set the kayak on grass or padding so the hull is protected while you roll it.
Close the hatch exactly as you would on the water.
A poorly seated cover can create a false diagnosis, so fully install the cover before testing.
Roll the kayak slowly onto each side.
Pause long enough for water to reach the rim, fittings and bulkhead seams.
Mark every drip.
Use tape so you can compare the exact leak location with the likely causes below.
Where the water comes out tells you what to inspect.
| Where it drips | Likely leak point | Next move |
|---|---|---|
| Around the hatch-cover edge | The cover is not sealing cleanly against the rim | Clean the rim and cover, reseat it and retest. If the leak remains, inspect the cover condition and follow the kayak maker’s replacement guidance. |
| At a deck fitting | Loose or damaged bolt, screw or fitting | Repair or replace the fitting using the kayak maker’s method. |
| Along the bulkhead wall | Bulkhead seal has separated or loosened | Follow the manufacturer’s bulkhead resealing instructions rather than smearing generic sealant over the seam. |
| Through the hull away from fittings | Possible impact or abrasion damage | Inspect the hull carefully and contact the manufacturer or a qualified repairer for the material involved. |
Small maintenance keeps the seal easier to seat.
Riot’s first response to a leaking cover is cleaning. Dirt on the rim can keep the cover from seating evenly.
P&H mentions silicone spray on the rim and inside edge of the cover to help its own hatch system fit. Do not generalize that to every hatch material without checking.
P&H suggests removing hatch covers during storage so trapped moisture can escape, while fitting them for transport.
Fix the leak and keep a second dry layer anyway.
A hatch that leaks enough to wet gear may also reduce the reliability of the compartment as flotation. Repair the leak before committing to open water, keep a pump or sponge appropriate to your kayak, and practice self-rescue skills such as a wet exit and re-entry.
Kayak hatch leak questions.
How often should hatch covers be replaced?
The cited manufacturers do not give one universal schedule. Inspect regularly, especially after impacts, and replace a cover when condition or testing shows it no longer seals.
Can I just add silicone to a leaking bulkhead?
Do not improvise from a hatch-rim maintenance tip. A loose bulkhead is a repair job. Follow the kayak maker’s material-specific resealing instructions.
Are hatch compartments supposed to be bone dry?
The sources here describe them as sealed storage/flotation compartments, but none promises zero moisture under every condition. Keep water-sensitive gear in dry bags as a second layer.
Protect the gear while you fix the boat.
Keep the phone, wallet and keys in compact sealed storage you control.
The SKÖ Waterproof Crossbody is for small essentials. It does not replace hatch repairs, dry bags for bulky gear, flotation or a life jacket.
See the Waterproof Crossbody →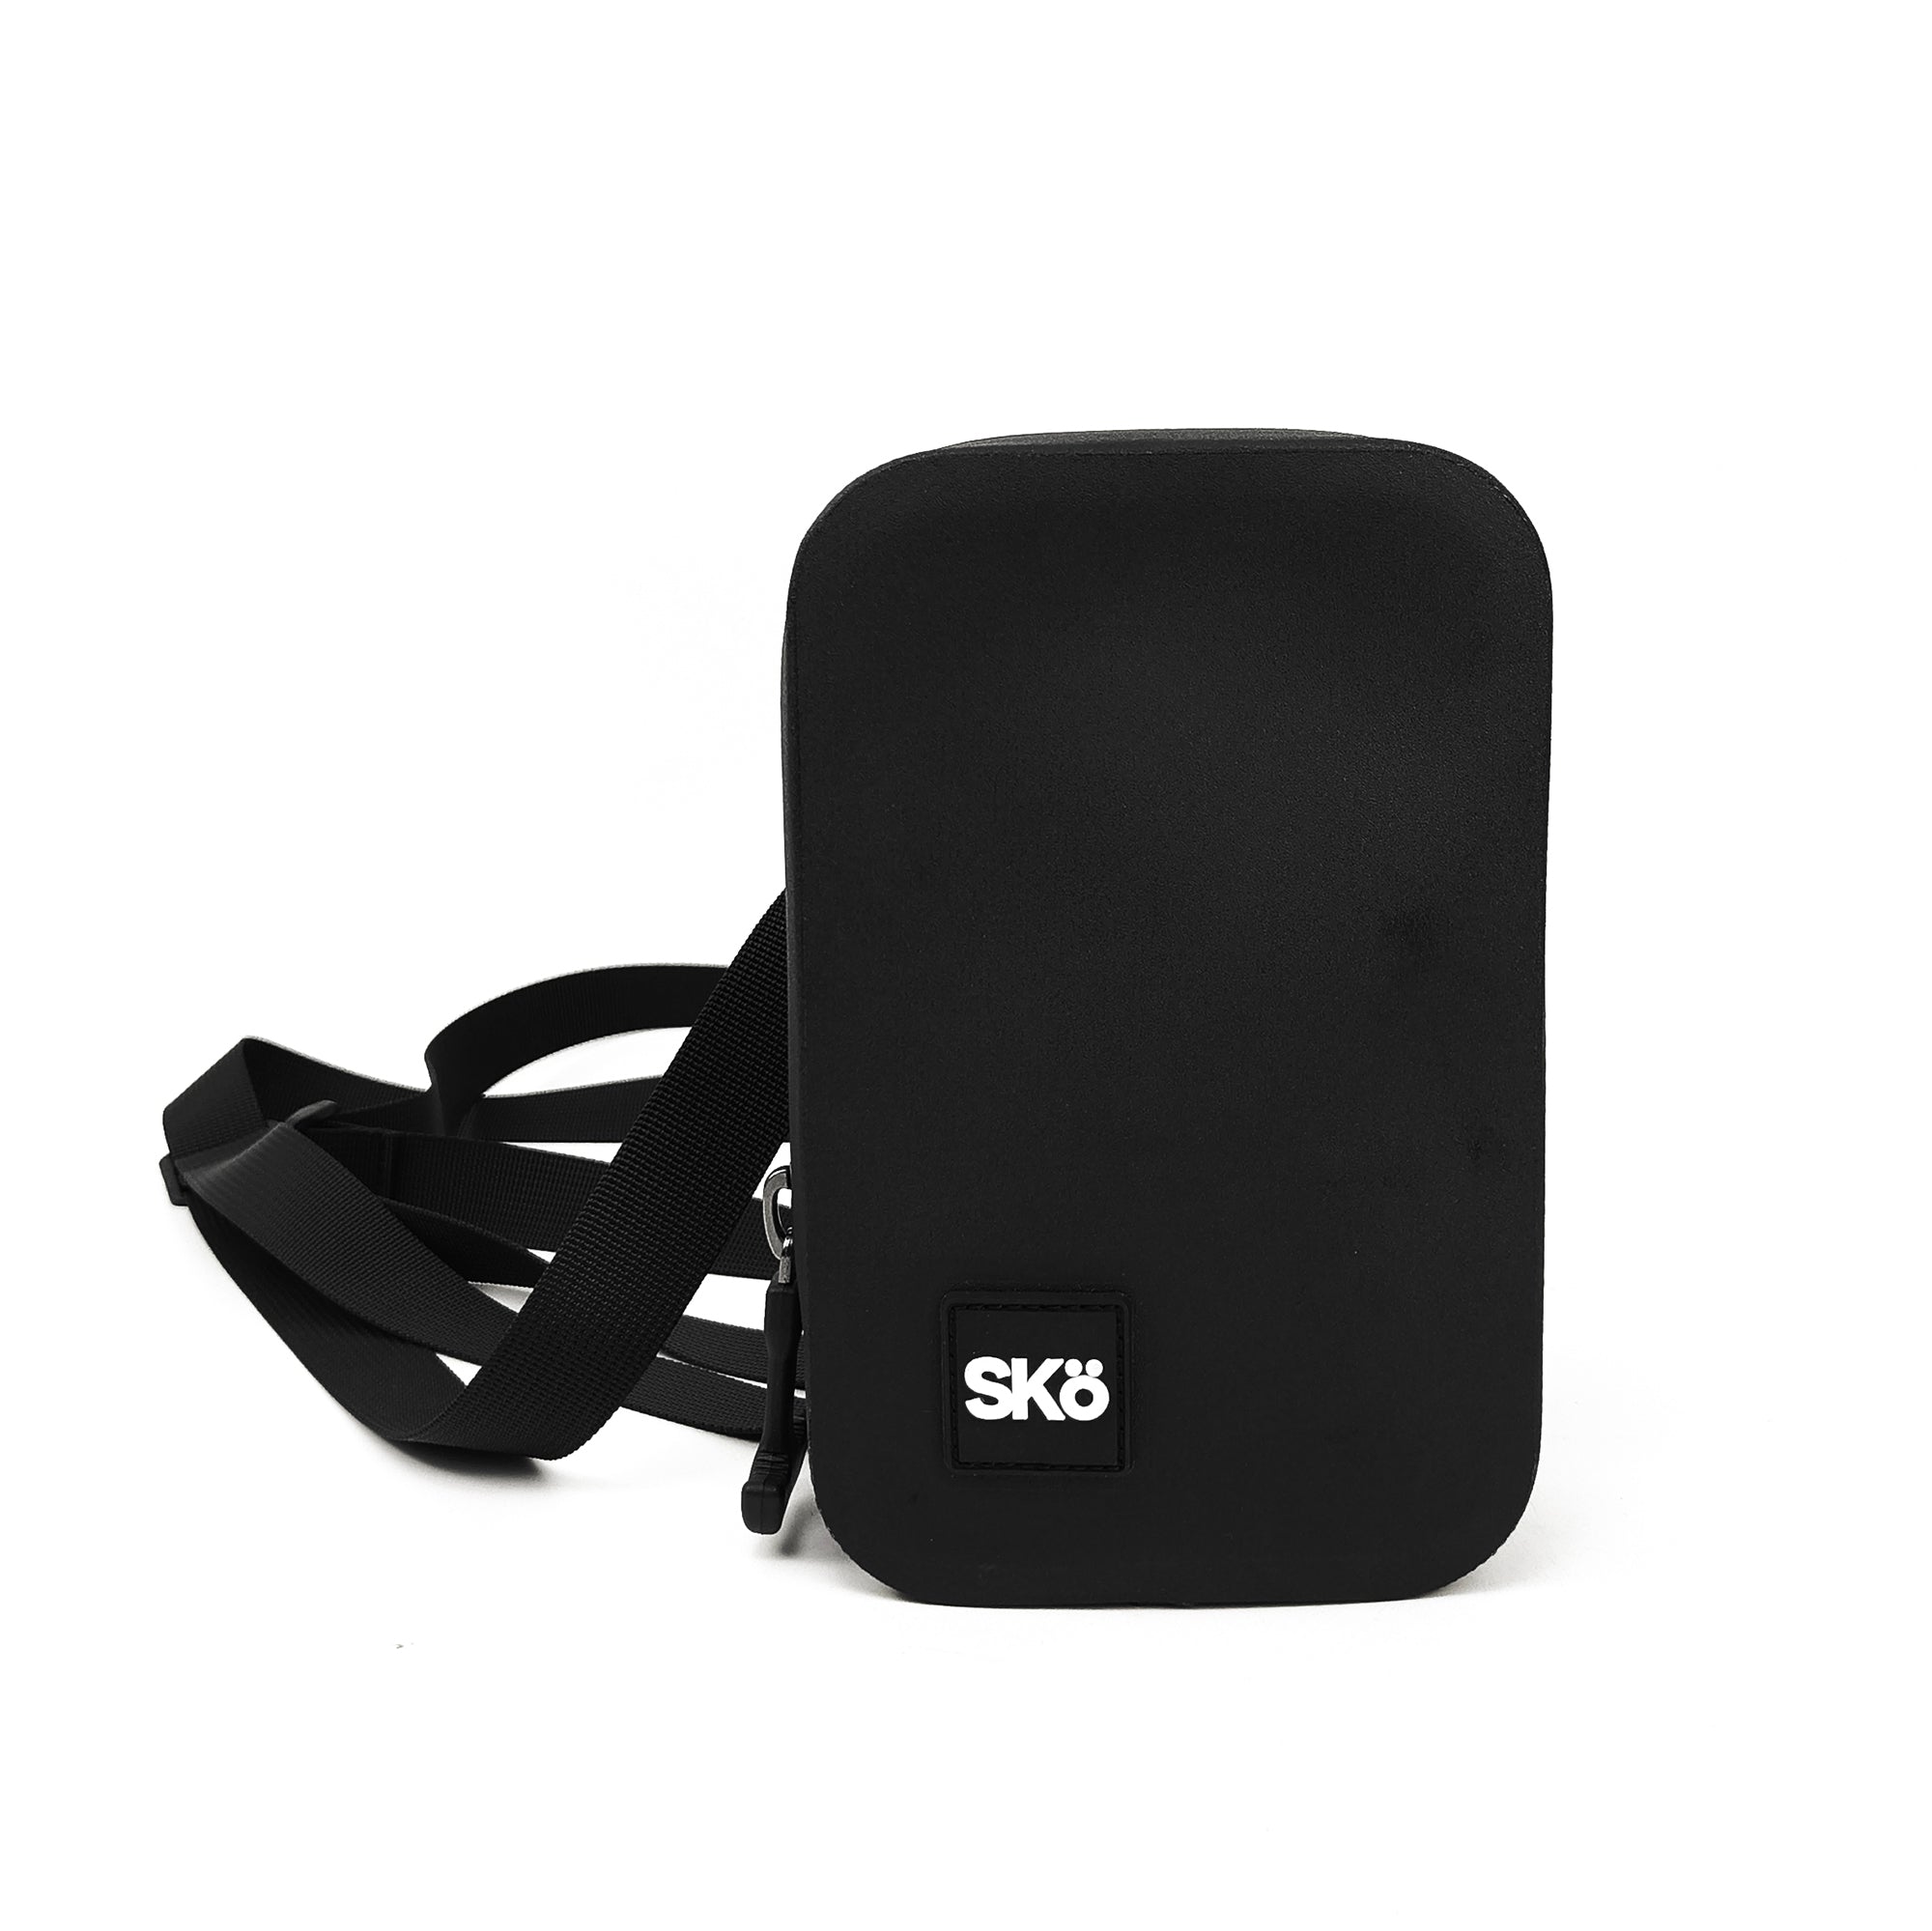
Explore more SKÖ guides
Improve kayak gear protection with hatch-packing ideas, dry bag sizing and on-water essentials.
 What Size Dry Bag Do I Need for Kayaking?
 Kayaking Essentials for Beginners: What to Actually Bring
 How to Keep Your Phone Dry While Kayaking
 Best Waterproof Backpacks for Kayaking (2027): Portage vs Hatch