
What Size Dry Bag Do I Need for Kayaking?
Liters matter, but they are only half the decision. The best dry bag is big enough for the gear bundle, small enough to fit the kayak, and positioned where you can reach it when you actually need it.
For most recreational paddlers, think in gear bundles instead of rigid trip-length rules. Rough planning bands are 1–5 L for compact valuables, 5–13 L for a small day kit, 13–20 L for clothing plus lunch and essentials, 20–35 L for bulkier full-day or cold-weather gear, and 35–65+ L total for overnight loads. Those are planning ranges, not standards. Before buying, check the bag's actual dimensions, your hatch or deck space, and how much room the closure needs to seal correctly.
Two 20 L bags can fit a kayak completely differently.
Capacity tells you how much volume a bag is designed to hold. It does not tell you whether the packed bag will slide through a hatch opening, sit cleanly behind your seat, fit beneath deck bungees or leave enough room to make the required roll-top closure.
Sea to Summit's current dry-bag lines make the point well. Its Lightweight Dry Bag runs from 1.5 L through 35 L, while the more rugged Big River line extends from 5 L to 65 L. The dimensions grow significantly as capacity increases. A current 20 L Big River, for example, is listed at roughly 9.6 × 10.4 inches across the base and 18.9 inches high with the top rolled three times; the 35 L grows to about 11.1 × 12.5 inches at the base and 23.1 inches high.
So size the bag twice: once for what goes inside, and once for where the packed bag has to live on the kayak.
Capacity comes after access and fit, not before them.
What must stay dry?
Phone and keys need almost no volume. A fleece, lunch, first aid and rain shell need much more. Sleeping gear changes the equation again. Pack the actual bundle before you guess the liters. For those small items, see how to carry your phone, wallet and keys while kayaking separately from bulk gear.
How often will you open it?
A phone or sunscreen bag should be reachable without unpacking the kayak. Camp clothes and sleeping gear can live deeper in a hatch until you reach shore.
Where does the bag have to fit?
Measure hatch openings, cockpit space, deck-bungee area and the bag's packed dimensions. A larger capacity is useless if the dry bag cannot pass through the opening. Our kayaking waterproof backpack comparison explains when a wearable pack makes sense versus gear stored inside a hatch. Packing an open canoe is different: our canoeing waterproof-bag and tie-in guide focuses on securing gear rather than fitting it through a kayak hatch.
Use liters as a planning language, not a promise.
Current paddle-sport dry bags are sold across a very wide range. Sea to Summit currently offers common sizes such as 3, 5, 8, 13, 20 and 35 L, while its Big River line also reaches 65 L. These silhouettes show the relative jump in capacity, not exact physical dimensions.
If you need a number, start here and then test the gear bundle.
These bands are intentionally broader than the old article's “1–2 hours = 5–10 L” formula. Trip duration influences volume, but the actual gear list, weather, paddler preferences and kayak storage layout influence it more.
Measure the kayak before you fall in love with the liters.
A 20 L dry bag can be the right volume and the wrong shape. Check the narrowest opening the packed bag must pass through.
Width and length matter more than the hatch's interior volume if a packed bag cannot physically pass through the opening.
Manufacturers often publish base dimensions and rolled height. Use those, not only the liter number.
A partially filled soft dry bag can sometimes compress through a hatch better than a rigid box, but do not count on forcing a packed bag through a too-small opening.
If you can shove the bag into a hatch but cannot pull it back out when wet and loaded, the fit is still wrong.
The best kayak setup usually uses more than one storage zone.
Critical small valuables
Keep the things that would ruin the return trip if lost or soaked in the smallest practical protected space.
- Phone
- Car key / fob
- Wallet / ID
- Critical medication
Mid-paddle gear
This is the bag you may open while stopped on the water or at a beach without unloading the entire kayak.
- Sunscreen
- Snack
- Light layer
- Small first aid
Land-only gear
These items can live farther into a hatch because you do not need them until a real stop or the end of the day.
- Dry clothes
- Camp gear
- Sleeping gear
- Backup supplies
A roll-top dry bag needs vertical space to become a dry bag.
The old article said a properly rolled 20 L dry bag often carries only 15–16 L. That sounds precise, but it is not a reliable universal rule. Manufacturers measure and label capacity differently, and many publish dimensions with the top already rolled to the required position.
Better sizing rule
Pack your real gear and make the full closure the manufacturer requires. If the bag is at its practical limit and the roll-top is difficult to close cleanly, move up a size.
Sea to Summit's sizing guidance similarly advises choosing a larger size when the intended contents are at the upper limit of the stated volume.
Do not overstuff it
An overfilled roll-top can lose the clean, tight folds the closure depends on. For the correct folding technique, see how to seal a roll-top dry bag properly. Extra capacity is useful only if the larger physical bag still fits the kayak.
The solution is not always one bigger sack. Sometimes it is two smaller bags with different jobs.
Split by function before you split by liters.
Overnight kayaks are shaped like awkward storage puzzles. Several smaller bags often make the puzzle easier because they can fit around each other, move fore and aft for trim, and keep one wet or frequently opened category from exposing everything else.
Sleeping bag, dry sleeping layers and items that should remain sealed until camp.
Insulating layers, socks and clothing that can live in a separate bag from food and wet gear.
Organize around access timing and local food-storage requirements rather than mixing everything with clothing.
Keep sunscreen, lunch, camera or other frequently used items where you can reach them without unpacking camp.
A 20 L bag can be the right size and still be the wrong protection level.
Roll-top dry bag
Excellent for organizing clothing, food and gear around ordinary kayaking spray and wet conditions when used as directed. Current Sea to Summit paddle-sport dry bags use waterproof 10,000 mm body fabrics but still tell users to avoid submersion because water can seep through the roll-top closure.
Submersible enclosure
If the contents are electronics or other high-consequence items and prolonged submersion is realistic, use a finished product explicitly designed and rated for that exposure. Do not infer a submersion rating from the liter size or waterproof fabric alone.
For the deeper explanation, see Are Dry Bags Actually Waterproof?
Ask these questions in this order.
What exact gear goes inside?
Lay it out. Clothing bulk and rigid objects matter more than an abstract “half-day trip” label.
How often do I need access?
If you need the item mid-paddle, prioritize a smaller, reachable bag instead of one large hatch bag.
What are the bag's dimensions?
Compare width, base shape and rolled height with the kayak's hatch, cockpit or deck storage area.
Can the closure seal without strain?
Leave enough room for the required roll, zip or press-seal operation rather than filling the bag to the brim.
How wet will this bag get?
Rain and spray are not the same problem as prolonged immersion. Match the closure and rating to the exposure.
Would two bags work better?
Splitting access gear from land-only gear can improve organization, trim and hatch fit without increasing total volume.
Use this before you order.
Kayak dry-bag sizing checklist
Kayak dry-bag sizing questions.
What size dry bag should I use for a short kayak trip?
If you are protecting only small valuables, 1–5 L may be enough. A compact day kit often lands around 5–13 L. Those are starting bands, not rules. Pack the actual gear and make sure the closed bag fits your kayak.
Is 20 L a good size for kayaking?
It can be a useful day-trip size for clothing, food and other medium-bulk gear, but first check the bag's actual dimensions against your hatch or deck area. A 20 L bag that does not fit the kayak is the wrong size regardless of capacity.
Should I buy one large dry bag or several smaller ones?
Several smaller bags can be easier to fit through hatches, distribute fore and aft, organize by function and access without unloading everything. One larger bag can still make sense for bulky gear when the kayak has room for it.
Does a roll-top dry bag lose capacity when I seal it?
The closure needs enough material to make the manufacturer-required rolls, so you should not pack a roll-top to the brim. But there is no universal percentage of volume lost. Check how the specific manufacturer states capacity and choose a larger size if your contents sit at the upper limit.
Can I use a regular backpack instead of a dry bag?
You can use any pack for gear that does not need meaningful water protection, but an ordinary backpack or rain cover should not be assumed to protect electronics or dry clothing through repeated spray, capsize or immersion. Match the bag's published protection to the exposure.
What size bag should I use for phone, wallet and keys?
Those items usually need very little volume, often well below a traditional day-trip dry bag. A small waterproof pouch or compact waterproof crossbody can keep them separate from the larger clothing and food bag.
Finish the kayak packing system.
Packed for the paddle.
Learn how to seal your dry bag and protect the essentials that belong inside your kayak.

How to seal a roll-top dry bag
Follow the closure steps that help prevent leaks.

Roll-top vs. waterproof zipper
Compare closures before choosing your dry-bag setup.

Keep your camera dry while kayaking
Protect delicate equipment when packing a kayak.

Keep your phone dry while kayaking
Build a separate waterproof plan for key essentials.
Phone, wallet and keys do not need a 20-liter sack.
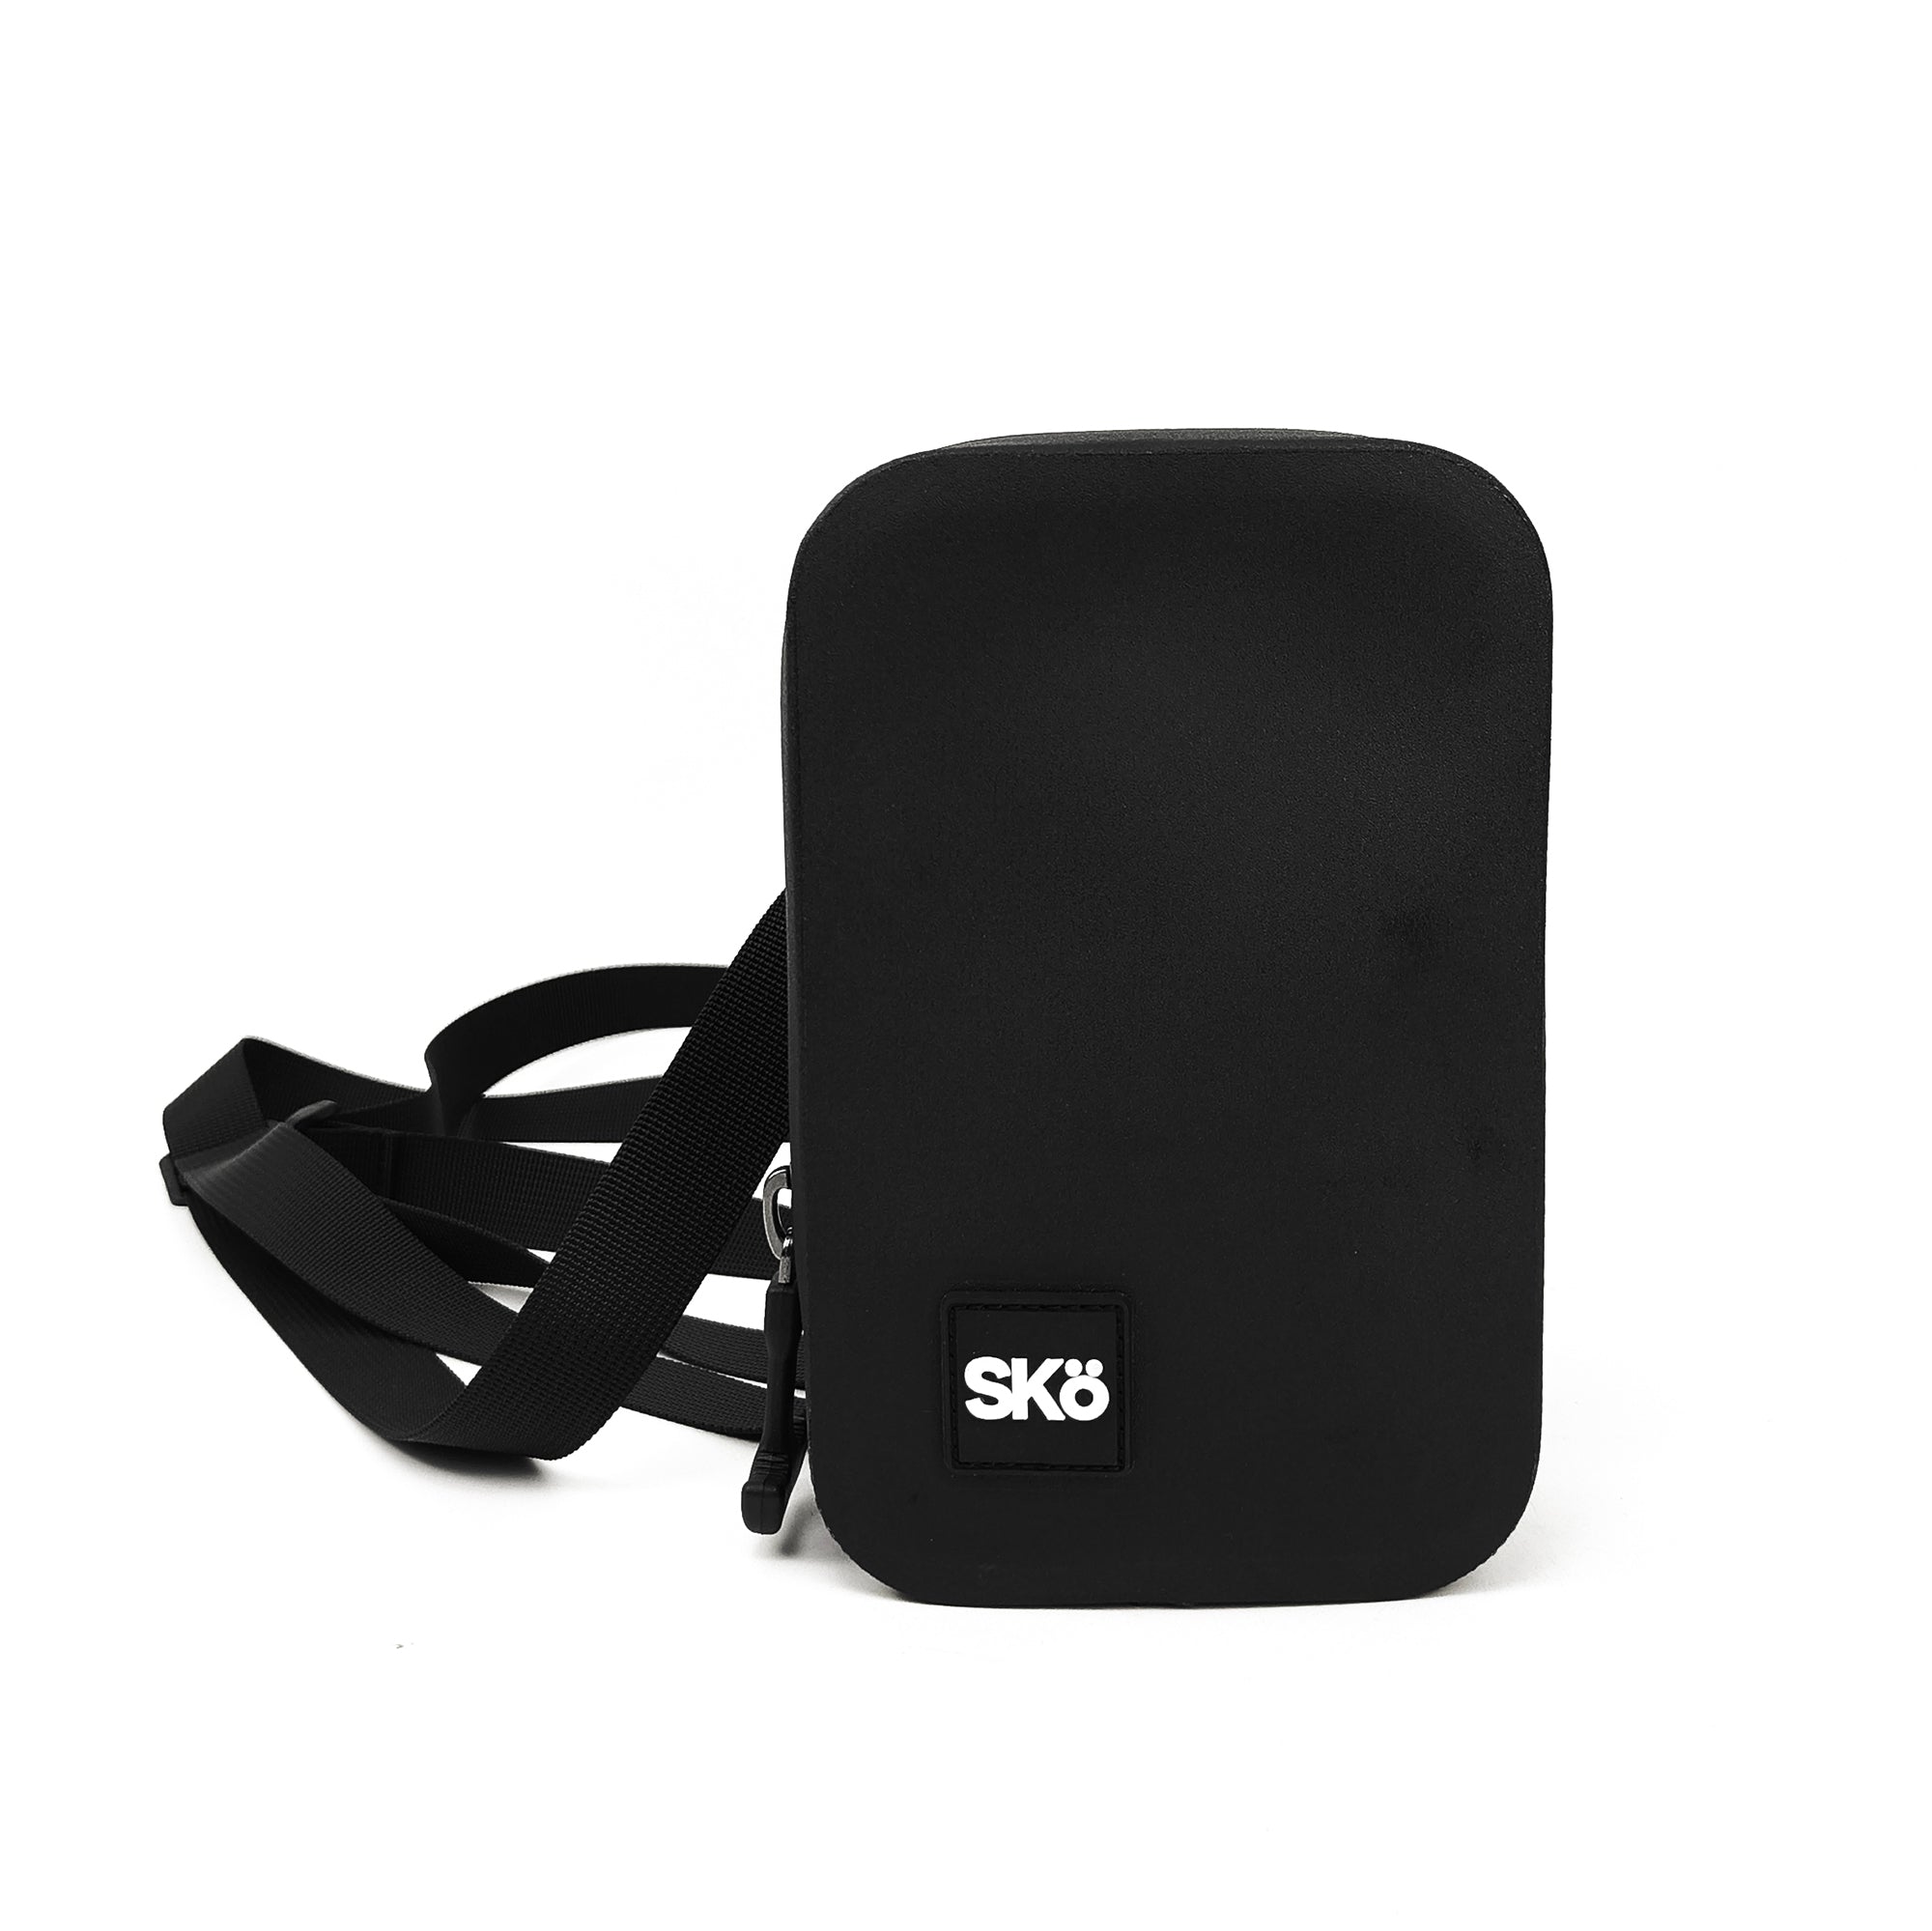
The SKÖ Waterproof Crossbody is a compact valuables bag rather than a traditional kayak dry sack. It is designed for the small essentials you want reachable and attached to you instead of buried beneath clothing or camp gear.
SKÖ currently publishes an IP68 rating, approximately 1.14 L capacity, 1680D TPU construction, a waterproof zipper and dimensions of 7.5 × 4.7 × 2 inches. The product page describes the finished bag as waterproof and submersible when the zipper is fully and properly closed.