

How to Test a Dry Bag for Leaks Before Your Trip
The safest first test uses dry paper inside the bag. It can reveal a bad closure or small leak without making your phone or sleeping bag the experiment.
Inspect the bag dry, put paper towels or tissue inside, close it exactly as the manufacturer requires, expose only the outside to the level of water the bag is actually designed for, then check the paper. If it is wet, dry the bag and localize the leak before trusting it with electronics.
Do not invent a dunk test for a bag that was never sold for immersion.
“Dry bag” covers a wide range of construction. A lightweight sack intended to keep gear organized inside another pack should not automatically be submerged because a heavier welded bag can handle more.
Start with the manufacturer’s use instructions. Your test should reproduce the kind of water exposure the bag is supposed to survive, not exceed it.
Three dry checks catch a surprising number of problems.
Look for pinholes, abrasion, peeling coating, cracked fold lines and damage at welded or taped seams.
Clean grit from a roll-top or zipper. A damaged or contaminated closure can fail even when the bag body is fine. For cleaning and inspecting closures without damaging coatings, follow the waterproof bag care guide before retesting.
A roll-top packed to the top cannot make the full folds the manufacturer requires.
Make the evidence cheap and obvious.
Dry the bag completely.
Starting dry makes a new damp spot easier to identify.
Put dry paper inside.
Use several pieces so moisture near the closure, bottom or sidewall shows up separately.
Close it exactly as specified.
NRS and SealLine both instruct users to align the top, push excess air out and make at least three full folds before buckling the roll-top.
Important: a sloppy closure tests the user error, not the bag body.
Wet the exterior only to the product’s intended level.
Use spray, shallow immersion or another exposure only if the maker says the bag is built for it. Do not exceed the stated use just to “prove” something.
Dry the outside before opening.
This keeps exterior water from dripping inside during inspection and creating a false failure.
Check the paper and mark the location.
Where the first damp spot appears tells you whether to focus on the closure, seam or bag body. If the roll-top cannot stay secured because of failed hardware, check our dry-bag buckle troubleshooting guide before using the bag again.
Wet paper tells you where to look next.
| What you find | Likely issue | Next step |
|---|---|---|
| Wet only near the top | Roll-top not folded correctly, zipper not fully closed, or closure contaminated/damaged | Clean, close carefully and repeat the test before assuming the bag body failed. |
| Single damp spot on a seam | Localized seam damage or failure | Mark the location and use the manufacturer’s recommended repair method. |
| Single damp spot in the fabric | Pinhole, abrasion or puncture | Inspect against light and patch only with a compatible repair system. |
| Paper dry, gear usually damp | Condensation or wet gear may be entering with the load | Review what was packed and whether humid air was sealed inside before calling it a leak. |
Filling the bag with water is not a universal diagnostic.
Some coated bags are not designed to support a column of water from the inside. It can stress seams and coatings in a direction the product was not built for. Paper inside, water outside is the safer general starting point unless the manufacturer gives a specific leak-test procedure.
Repair the cause, then repeat the same test.
GEAR AID’s repair guidance is a useful example, but the exact adhesive and preparation should match the bag material.
Waterproof zippers and roll-tops use different maintenance systems. Do not improvise one onto the other.
A widespread seam separation or failing coating is not the same job as patching one pinhole.
Diagnose the rest of the dry-bag system.
Use disposable paper to prove the seal, not expensive electronics.
The SKÖ Waterproof Crossbody uses a waterproof zipper for compact essentials. As with any sealed bag, inspect the closure, keep it clean and follow the product-specific care instructions.
See the Waterproof Crossbody →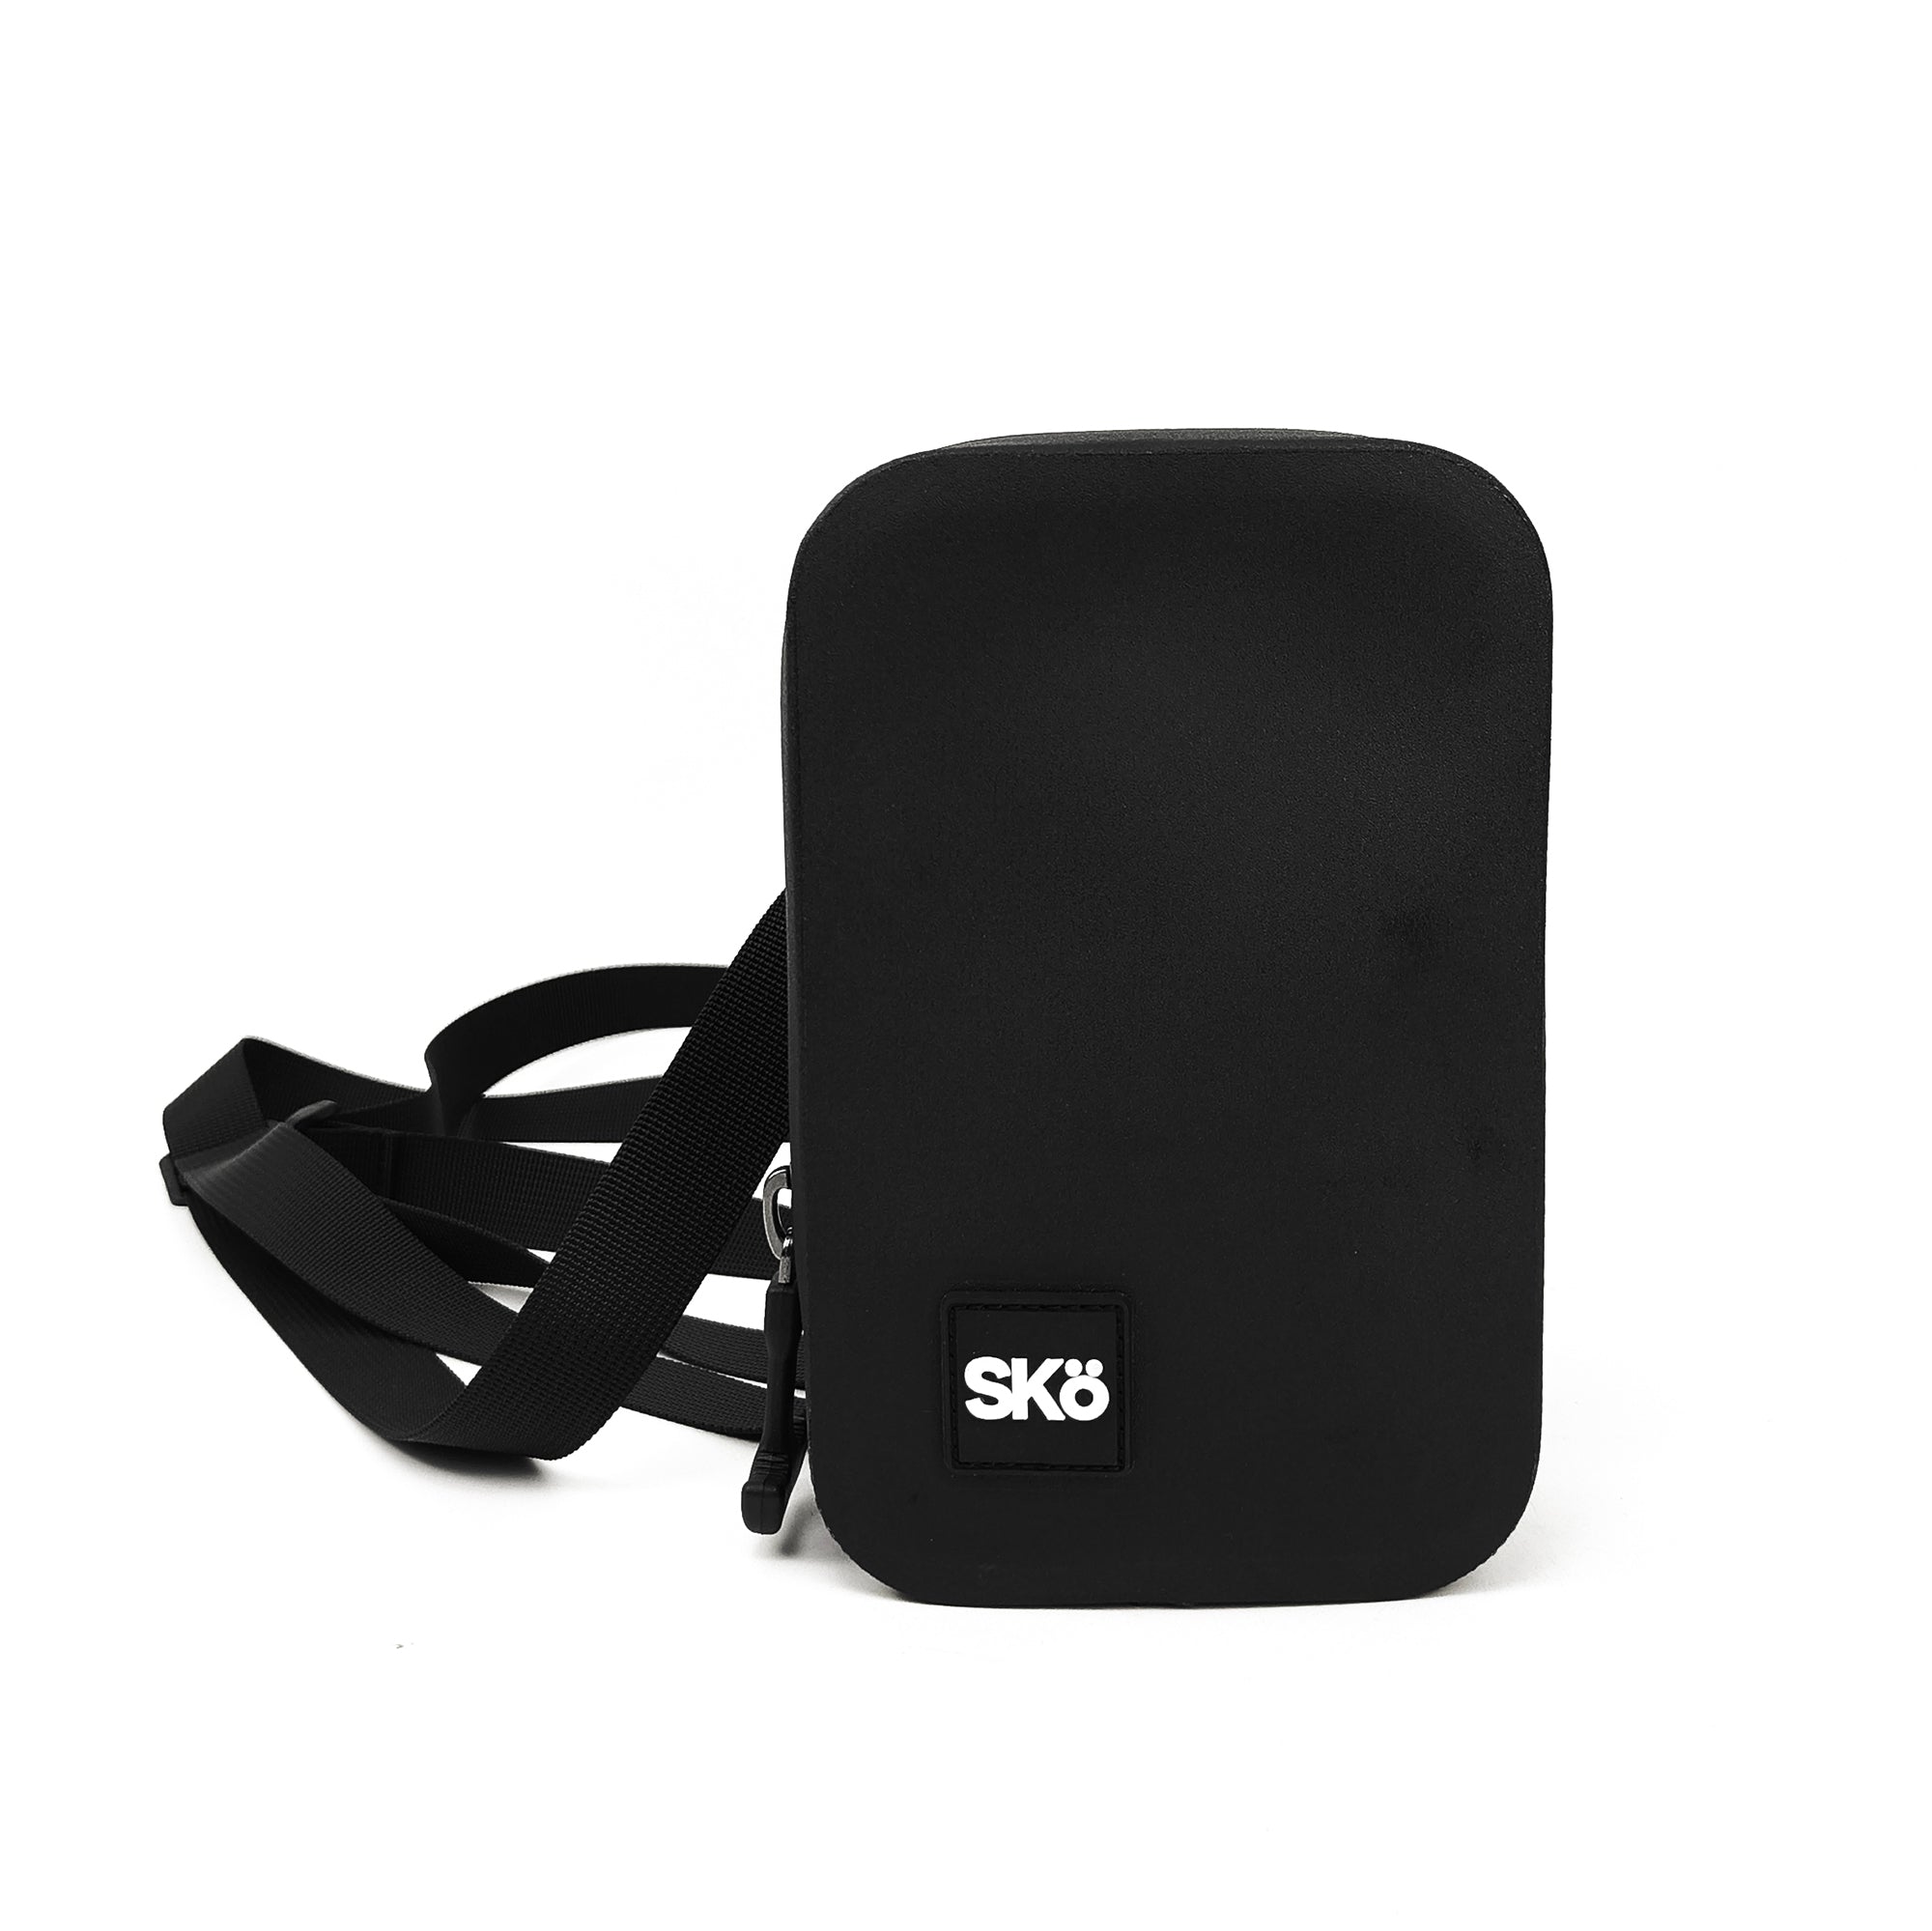
Explore more SKÖ guides
Learn how waterproof bags and closures work, and how to seal and inspect your gear before a trip.
 Are Dry Bags Actually Waterproof?
 How Waterproof Bags Actually Keep Water Out
 How to Seal a Roll-Top Dry Bag Properly (and Fix Leaks)
 Roll-Top vs. Waterproof Zipper: Which Dry Bag Closure Wins?