

Why Did My Dry Bag Sink?
A dry bag does not float because the fabric is special. It floats because the sealed bag displaces enough water to support the total weight of the bag and everything inside it.
Your dry bag most likely sank because the load was too heavy for the amount of sealed volume, water leaked inside, or the bag had been compressed so tightly that very little buoyant volume remained. Another possibility is that the bag was exposed underwater longer than its design or rating allows. If your gear is still dry, check weight and volume first. If it is wet, investigate the seal or water rating.
Waterproof fabric is not what holds the bag up.
The important part is the space enclosed by the bag. A lightly packed 10-liter dry bag can float high because much of its volume is air. Fill that same bag with dense gear and its behavior changes dramatically.
The physics comes from Archimedes' principle : the upward buoyant force equals the weight of the fluid displaced.
The U.S. Geological Survey gives fresh water a density of about one gram per milliliter, which is approximately one kilogram per liter.
That gives us a useful upper-limit calculation. If a sealed object displaces ten liters of freshwater, it can theoretically support roughly ten kilograms before becoming neutrally buoyant. Real dry bags have less usable volume than their printed capacity once they are packed, rolled and compressed, so that figure should be treated as a ceiling rather than a target.
The contents determine whether the sealed volume can support the weight.
Imagine two identical 10-liter dry bags. One contains a fleece and rain shell. The other contains water bottles, canned food and a tool kit.
Both bags may have the same dimensions. Both may be sealed correctly. But the second bag carries far more mass inside the same potential displacement.
The light bag rises until it displaces enough water to balance its weight. The dense bag must sink deeper to displace more water. If the required displacement exceeds the bag's sealed volume, there is nothing left to stop it from sinking.
Rain shell
Floats high
Tools
Cans
Can exceed its available lift
Bag size puts an upper limit on buoyancy.
These are simple fresh-water displacement calculations for the bag and its contents combined. They are not recommended packing weights.
Enough volume for small valuables or lightweight gear, but very little margin if you load it with dense objects.
Plenty for lightweight layers and lunch, but still vulnerable to dense loads that occupy very little space.
More sealed volume creates more possible displacement and more margin for ordinary paddling gear.
A large theoretical limit, but actual usable volume is still reduced by the closure and how tightly the bag is packed.
Four reasons your dry bag sank.
Start by opening the bag. Whether the contents are still dry immediately narrows the problem.
The load is too heavy for the bag's sealed volume.
Water bottles, metal tools, canned food and other dense objects are classic examples. A lightweight jacket may fill half the bag while weighing almost nothing by comparison.
Water got inside.
SealLine recommends aligning the sealing strips without wrinkles and folding its roll-top closure at least three times . If the bag still leaks after careful closure, see why a dry bag roll-top won't seal properly .
The bag was compressed too small for the load.
Sea to Summit instructs users to squeeze out excess air before rolling the closure. NRS similarly emphasizes closing the bag firmly against its contents. The seal takes priority over intentionally trapping extra air. For the differences in sealing systems, read roll-top versus waterproof zipper closures.
The bag was not built for that much time underwater.
SealLine distinguishes between splashproof, waterproof and submersible product levels. For a deeper look at what those claims really mean, see are dry bags actually waterproof?
A good seal and maximum flotation are not the same goal.
More water can be displaced before the entire bag is submerged.
Same gear weight, smaller displacement ceiling.
Follow the manufacturer's sealing instructions first. A badly closed floating bag is not a useful solution.
If you want more buoyancy margin with the same load, a larger bag gives you more potential sealed volume without compromising the closure.
Watershed notes that some of its bags allow air to be added or purged through a valve while the primary closure remains sealed.
A floating dry bag is not a life jacket.
Dry bags are gear storage. They are not designed, tested or approved as personal flotation devices. Whether your dry bag happens to float has no bearing on whether it can safely support a person in the water.
The U.S. Coast Guard emphasizes wearing an appropriate life jacket while boating. For paddling-specific help, see how to choose a life jacket for kayaking .
Pack it exactly as you plan to use it.
Theoretical calculations are useful, but your actual packed bag can tell you even more. Before the trip, load the exact gear, close the bag properly and place it in shallow controlled water.
Thirty-second float check
If you regularly need more room or buoyancy margin, use our dry bag sizing guide for kayaking .
Common questions about whether a dry bag should float.
Do all dry bags float?
Not under every load. A correctly sealed bag with a light load will usually float because its sealed volume displaces more water than the bag and contents weigh. Add enough weight, lose enough volume or let enough water inside and the same bag can sink.
How much weight can a 10-liter dry bag float?
Ten liters of freshwater weigh about ten kilograms, or roughly 22 pounds. That creates a theoretical upper buoyancy ceiling near 10 kg for the bag and contents combined if a full 10 liters of sealed displacement remain. A real closed and packed bag generally has less usable displacement, so do not treat 22 pounds as a recommended load.
Should I leave extra air inside my dry bag so it floats?
Do not compromise the manufacturer's closure instructions just to trap air. SealLine and Sea to Summit both instruct users to remove excess air as part of closing a roll-top. If more flotation margin is important, using a larger bag for the same load is the safer approach.
Why did my dry bag float at first and then sink?
Water intrusion is a strong possibility. As water enters, the bag becomes heavier while sealed air volume decreases. Also check whether your particular dry bag is rated only for quick submersion rather than prolonged time underwater. For a breakdown of those limits, see whether a dry bag can be fully submerged.
Does salt water make a dry bag float better?
Slightly. Salt water is denser than fresh water, so the same submerged volume experiences somewhat greater buoyant force. The same basic rules still apply: load weight, usable sealed volume and water intrusion determine whether the bag stays afloat.
Related SKÖ guides.
A phone and car key do not need a 20-liter dry bag.
Large dry bags make sense for clothing, food and bulky paddling gear. Your phone, wallet and keys create a different problem: they need protection, but they also need to remain easy to reach. Our dry bag versus waterproof bag guide explains why those formats serve different loads.
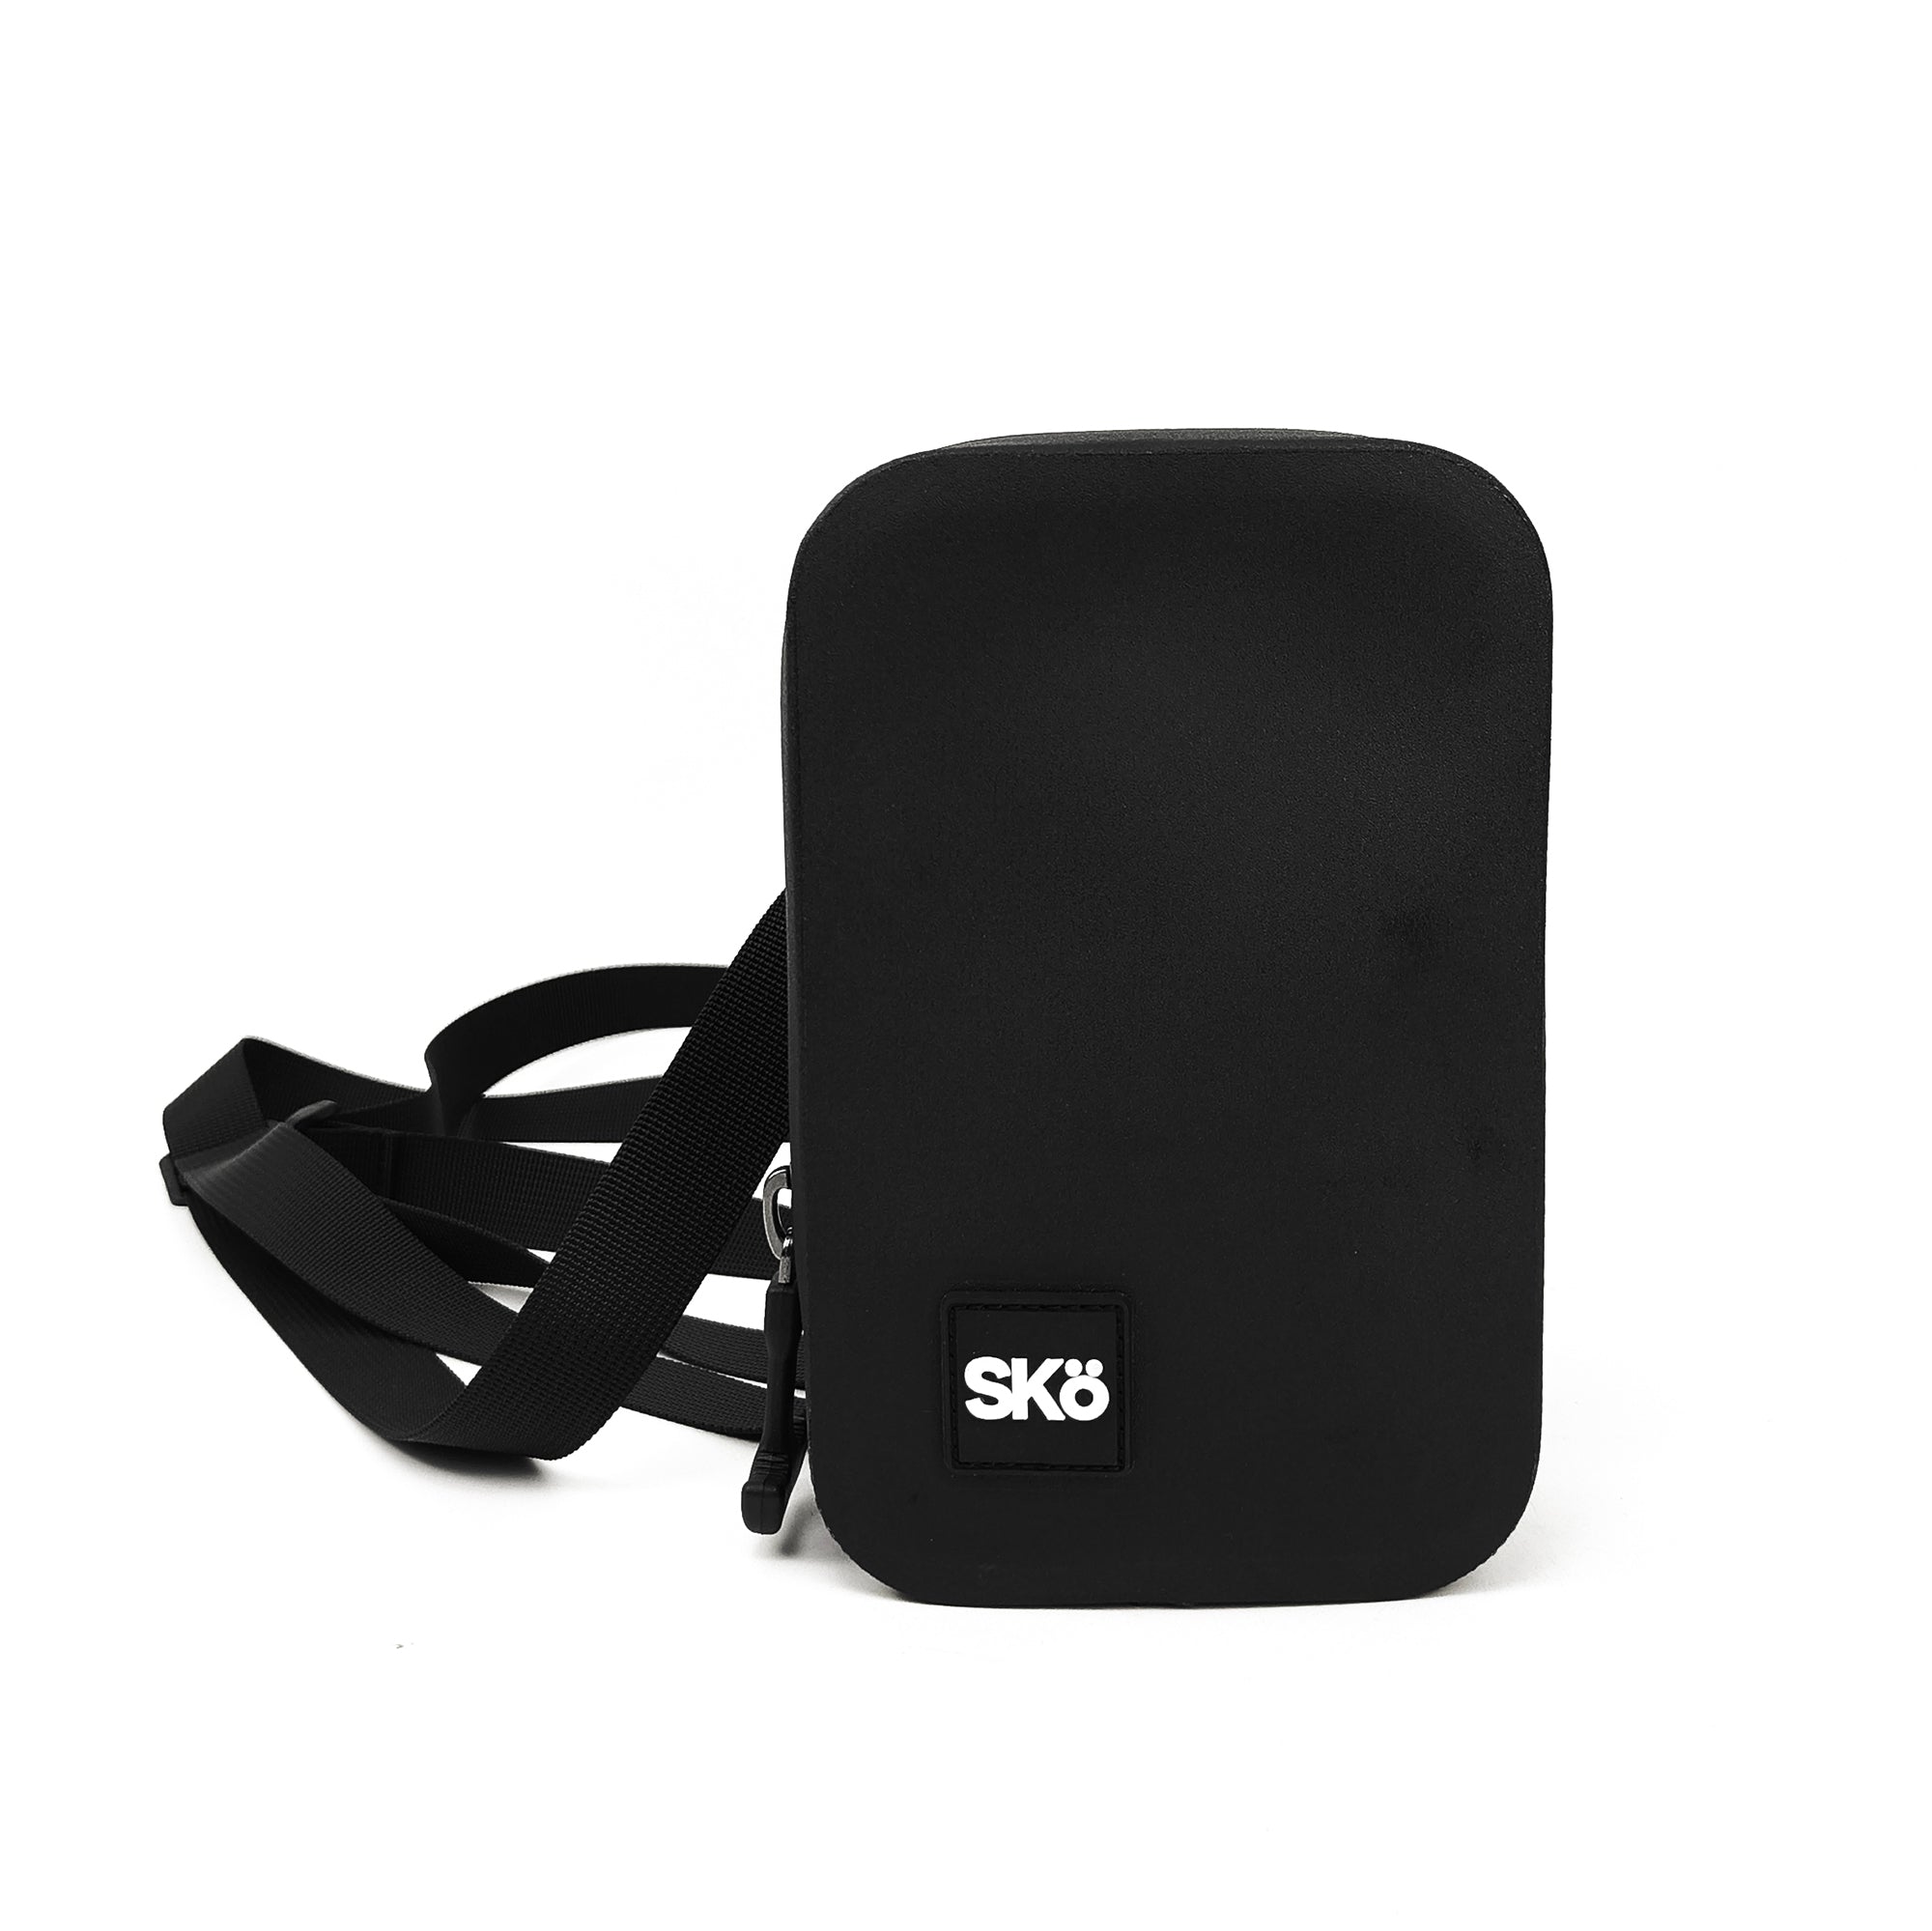
The SKÖ Waterproof Crossbody keeps those smaller essentials together and worn on your body instead of buried inside a larger gear bag.
The SKÖ Waterproof Crossbody is storage equipment, not flotation or lifesaving equipment.
Sources
- NASA Glenn Research Center — Archimedes' Principle
- U.S. Geological Survey — Water Density
- SealLine / Cascade Designs — How to Properly Seal a Roll-Top Dry Bag
- SealLine / Cascade Designs — Splashproof, Waterproof and Submersible
- Sea to Summit — How to Correctly Close a Dry Bag Roll-Top
- NRS — How to Seal an NRS Dry Bag
- Watershed Drybags — FAQs
- U.S. Coast Guard Boating Safety — Life Jacket Wear
Explore more SKÖ guides
More useful guides for keeping your gear protected and your essentials ready.
 Can a Dry Bag Be Fully Submerged?
 How to Seal a Roll-Top Dry Bag Properly (and Fix Leaks)
 What Size Dry Bag Do I Need for Kayaking?
 How Long Do Dry Bags Last? Signs to Repair or Replace